Belt Adjustment Hitch Removal
Belt Adjustment Hitch Removal
These are questions that come up all the time so I decided that since I needed to make some adjustments on my belt I would go ahead and take some pics and add captions to answer some of the questions that have been posted here many times before. As they say a picture is worth a 1000 words so I hope this will cut down on my typing.
You start by removing the through bolt that holds the hitch on.
This bolt should slide right out after the nut is removed from the right side.
Now you're ready to remove the hitch after the bolt is removed.
The hitch is going to be on there pretty tight so grab the ball and move it side to side till it breaks loose. Then pull it straight back being careful of the brake line and sensor wire on the right side.
This shouldn't take much more than 5 min. to get the hitch off. Took me a little longer as you can tell by the time stamp.
The last time my dealer did a tire change and belt tension check I got out my Krikit and marked it where he had it set with the sonic gauge. This has worked well for me for many years and you can pick these up for about $20 bucks.
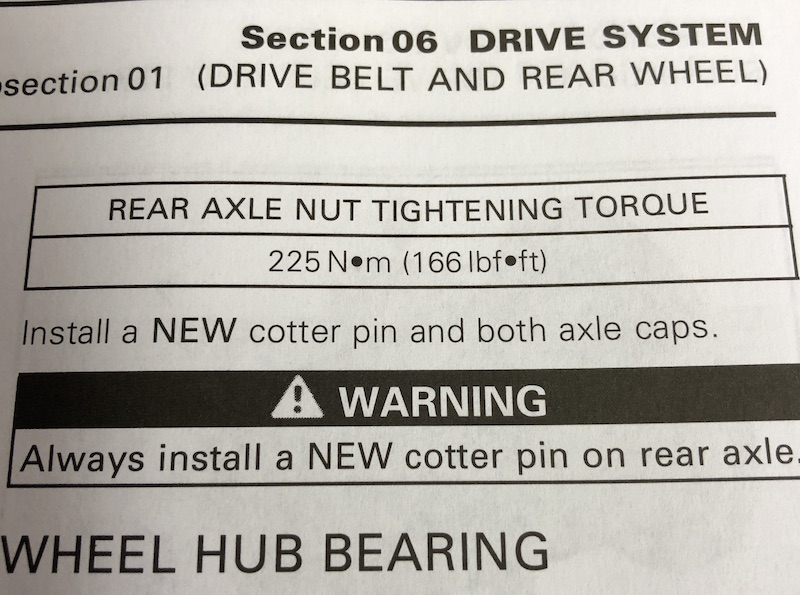
When the Spyder is on the ground go ahead and loosen the axle nut. When you have the Spyder in the air you can start making adjustments. As you can see from the picture I have the belt just off of the sprocket flange about 1-2mm. This can be a fight some times and you're better off making small adjustments to start with as it doesn't take much to move the belt.
After I get the belt where I like it I check the tension while it's on the ground it should be a little more when it's on the ground because the swingarm is now more inline with the counter sprocket.
I don't know how many times I've been asked about removing the hitch bolt from folks that thought it was the axle. This picture is just to show you that the axle is under the hitch and removing the hitch bolt has no effect on the belt tension.

